On this page:
- Z-Read Assistant
- Script Check In/Out
- Clock In/Out
- Card Machine Integration
- Lexpos Retailer Assistant
- Automate Cheapest Supplier
- NHS Customer Surveys
- Shortcut Buttons
- Retail Price Markup
- Ordering at a glance
Z-Read Assistant
To help make it quicker and easier to count up your money at the end of the day we have now added a simple Z-Read assistant that can be accessed by pressing this button on the Z-Read window:
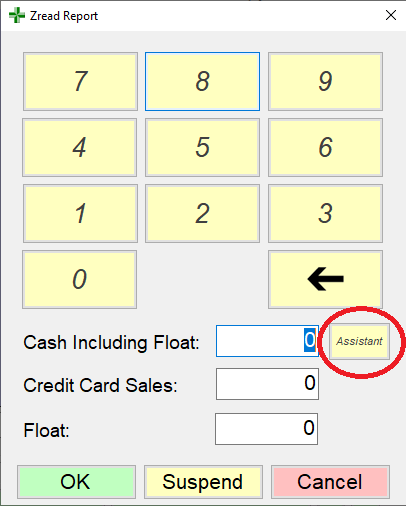
Clicking this button will open the following window:
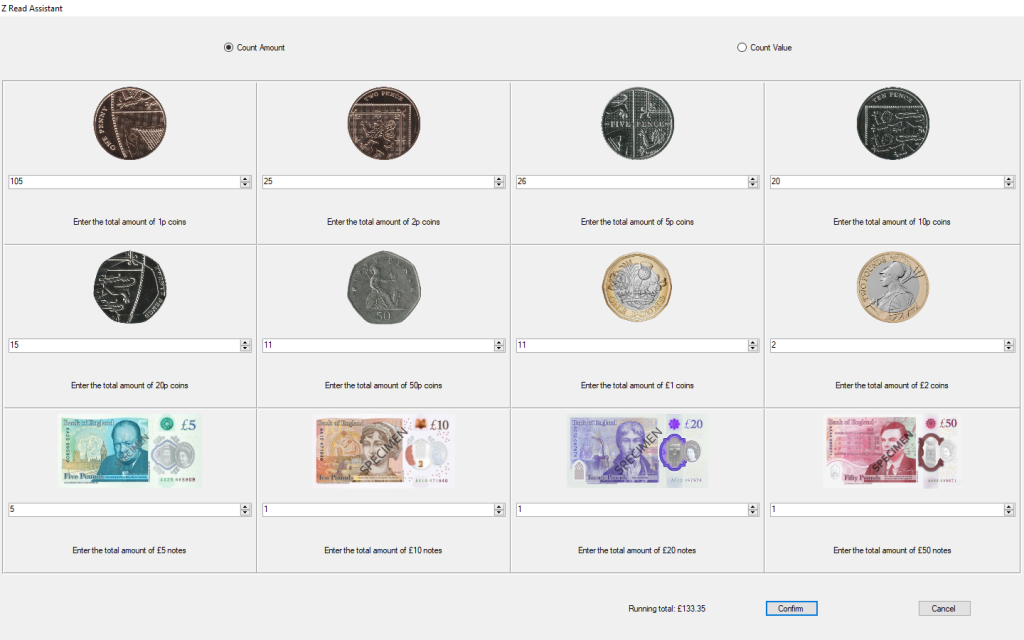
From here you just input the amounts for each coin or note (or values if you prefer*) and once you press confirm, the value will be added straight to the Z-Read window for you.
*You can choose whether you wish to input the amount of coins or the value of coins using the two radio buttons at the top of the assistant window.
Script Check In/Out
Lexpos Retailer can now help you keep track of prescriptions coming in to your pharmacy.
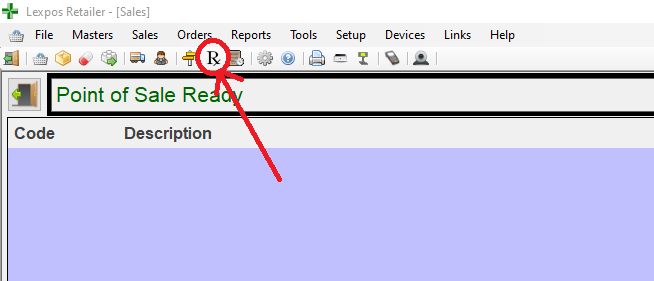
To check a prescription into your pharmacy simply click this button on the main sales screen:
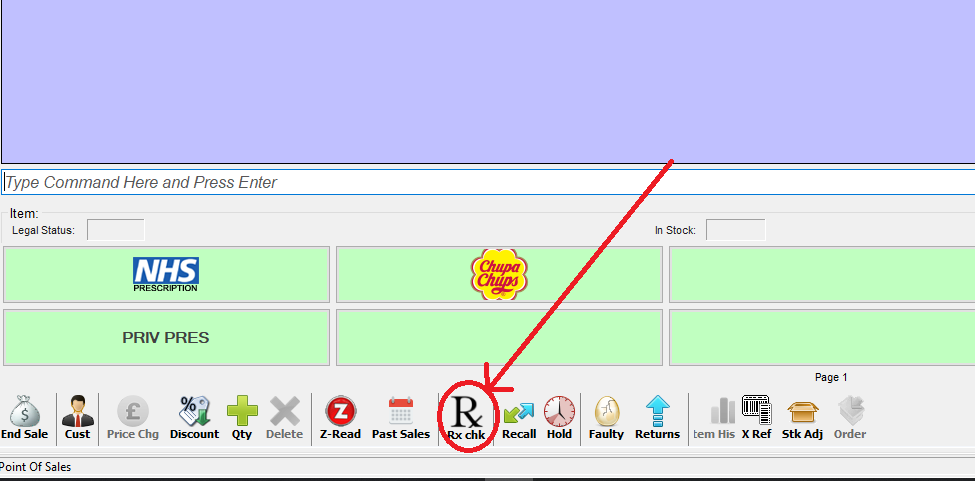
After clicking this button, just scan the prescription token/barcode to check it in/out of the system.
Note: The system will automatically record the time/date and will check in the prescription if it is the first scan and check it out if it is the second scan.
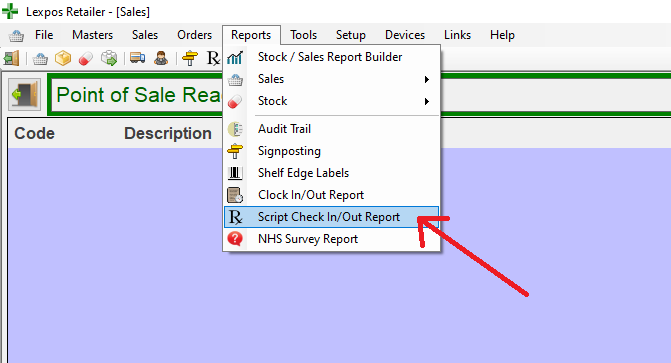
To view a complete readout of all prescriptions recorded by the system, simply go to the reports tab and select “Script Check In/Out Report”:
Or select this icon on the main sales screen:
To generate a report use the two panels on the left of the screen to select whether you want to see checked in scripts, checked out scripts or all scripts. Next select the time scale you would like to cover (you can use the “preview” button to get a preview of what the report will look like).

Once you have the preview available you can use the “Send to Report” button at the bottom right if you would like copy of the preview that you can print or save for later.
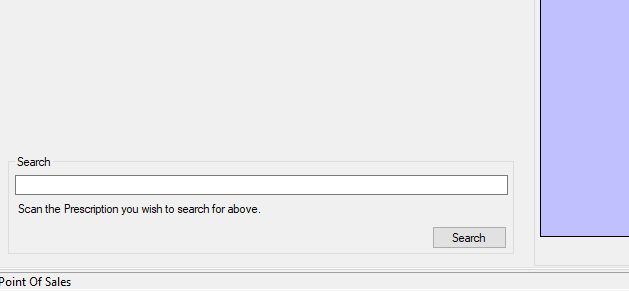
There is also a search bar at the bottom left of the screen, if you have the prescription to hand you would like find out about, simply scan it into the text box and press search.
Note: Lexpos only tracks the barcode of the prescription, we cannot read/display or access any patient or medical information. This feature is purely to help track when a prescription entered/left the pharmacy.
Clock In/Out
You can now use Lexpos Retailer to record how long you work each day.
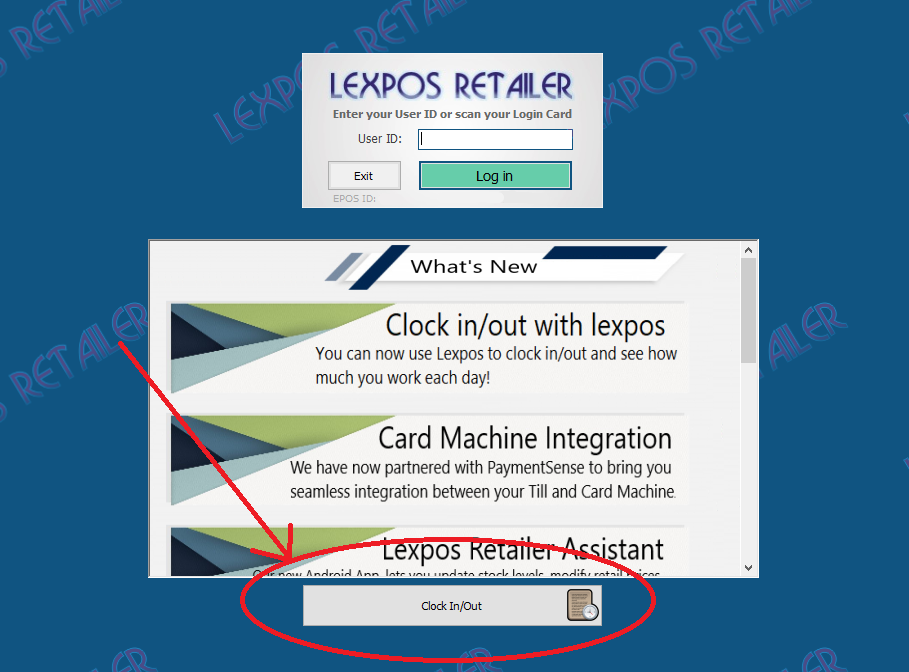
To do this simply click the Clock In/Out button on the log in screen:
After clicking this button, scan your log in card or type in your log in code to register that you are clocking in/out of the system.
Note: If you haven’t clocked in, the system will clock you in, if you are already clocked in, the system will clock you out.
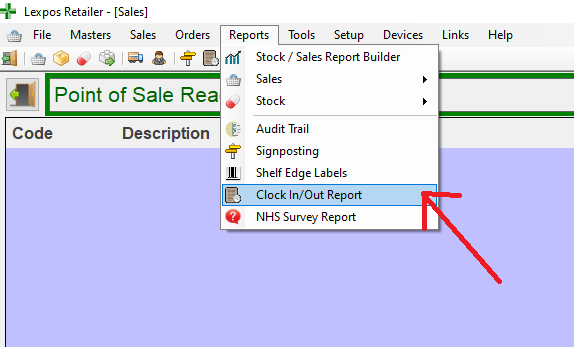
To view timing records collected by clocking in/out, simply go to the reports tab and select “Clock In/Out Report”:
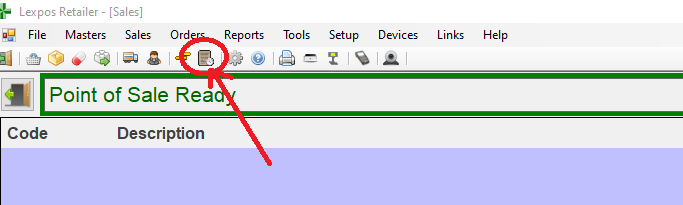
Or select this icon on the main sales screen:
To generate a report use the two panels on the left to select which user(s) you would like and the time scale you would like to cover (you can use the “preview” button to get a preview of what the report will look like).
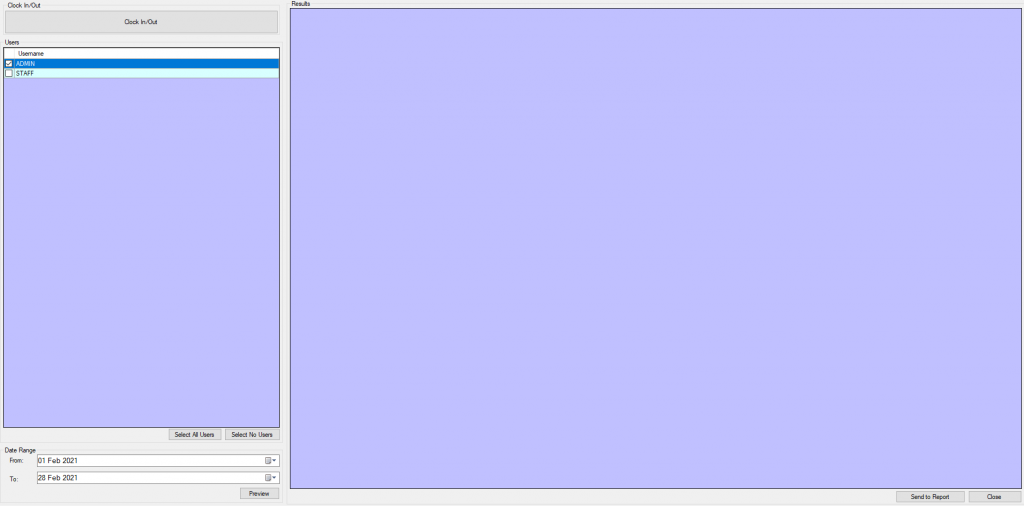
Once you are happy with the user(s) selected and the date range, use the “Send to Report” button to produce a report that tells you how much the user(s) worked throughout the specified date range.
Note: If a user fails to log out on a day, the time sheet/report will be left blank and the report will have to be manually altered to reflect the missing time by signing in as the “Admin” account and selecting the missing day in the preview window (once you select the day, a new button will appear that will allow you manually add a clock out time).
For advanced users:
If you want to have Lexpos adjust clock in/out times to the time the user starts or ends their shift, go to user settings (Setup> Users).
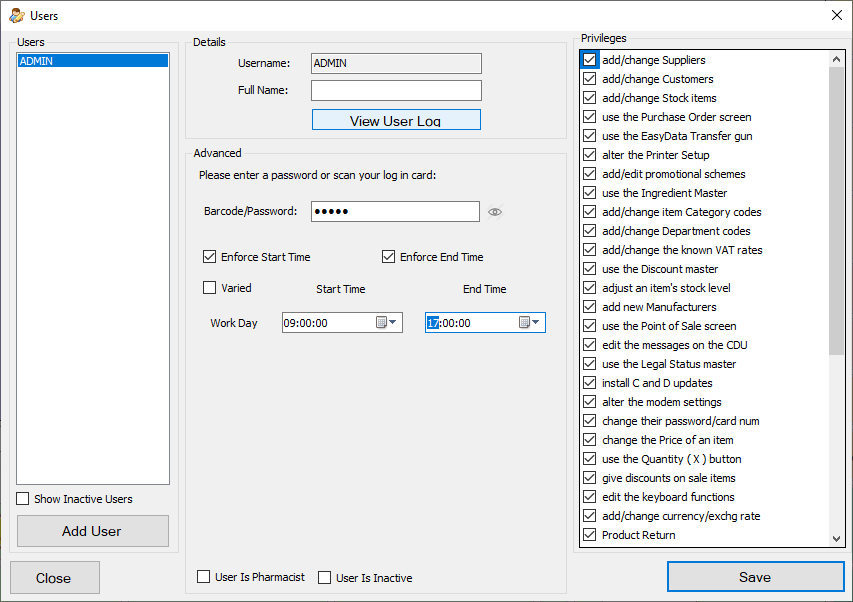
From this window you can set the users shift start and end times, if you select the “Enforce Start Time” check box, this will mean that if a user clocks in before their shift start then the time recorded will be the shift start time, not the time they clocked in.
For example, if I user starts their shift at 9:00, but clocks in at 8:42, then the recorded time will be 9:00.
The same will happen for end of shifts if you select the “Enforce End Time” check box, if a users who’s shift ends at 17:00 clocks out at 17:04, the time recorded will be 17:00.
Card Machine Integration
We now support full integration between our software “Lexpos Retailer” and PaymentSense (Merchant Services provider).
If this is something you would be interested in, give us a call on 01254 582456 and we will give you all the information you need to get integrated!
↑ Top
Lexpos Retailer Assistant
The Lexpos Retailer Assistant App is available on the Android Play Store right now!
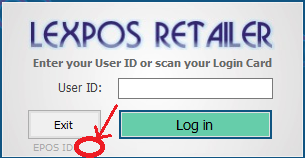
When you first download the app you will be asked to input your Till/EPOS ID, this can be found here, just below the log in box.
After that, all you have to do is scan each product you want to modify using the camera of your mobile phone, then input any values you wish to update (leave any that you don’t want changing blank).
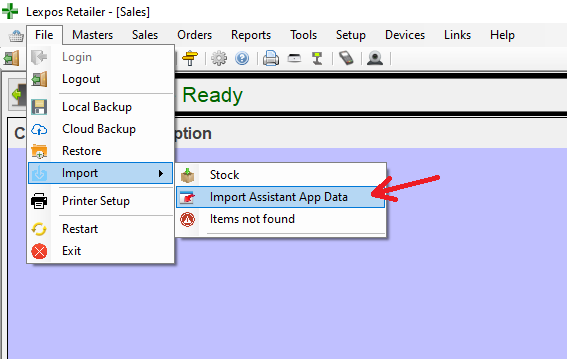
Once you have finished go back to Lexpos and select the button shown in the image below:
Automate Cheapest Supplier
You can now ask Lexpos to set your stock suppliers for you to make sure always get the cheapest price.
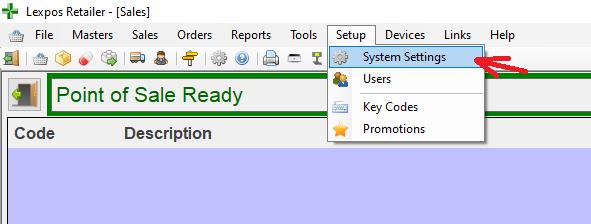
To do this you must first go to the System Settings tab:
Next select the Ordering tab and check the box labelled “Automate Cheapest Supplier” as seen in the image below:
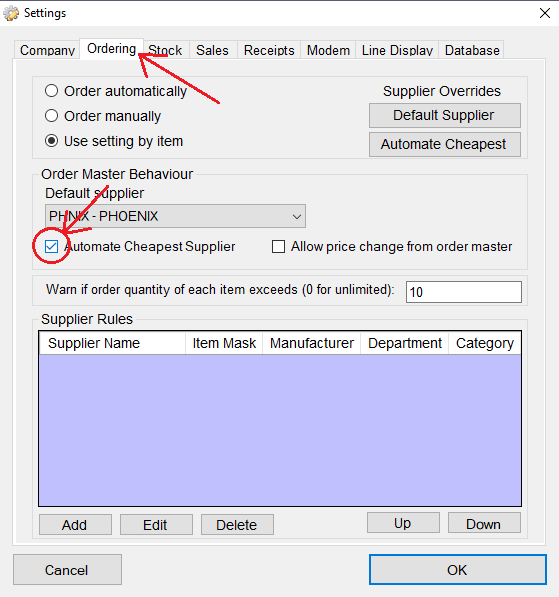
Finally, press the “OK” button and once you receive your next wholesaler update, your chosen suppliers will be updated accordingly.
NHS Customer Surveys
You can now complete all the requirements for submitting NHS customer surveys using Lexpos Retailer.
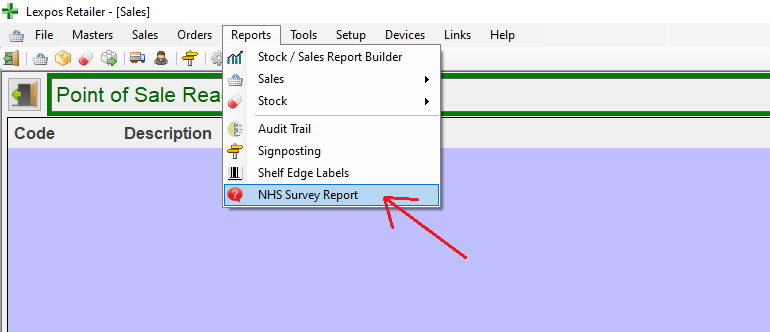
To access the “Customer Survey” feature simply click the “Reports” tab and then select the button shown in the image below:
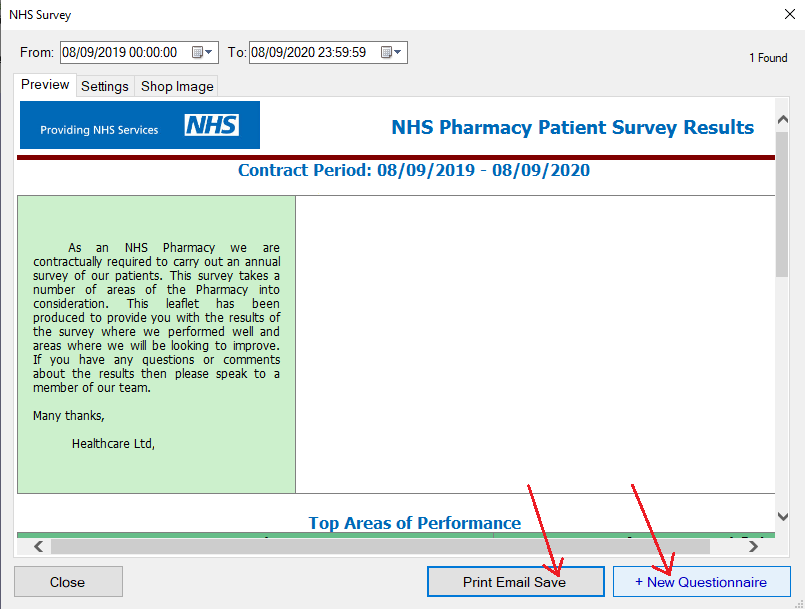
Clicking this button will bring up the Survey report window, from here you can use the “+ New Questionnaire” button to input a new questionnaire or the “Print Email Save” button to generate a report of all the questionnaires you have entered during the date range selected at the top right of the window.
Shortcut Buttons
To set/update your shortcut buttons you must first go to the “setup” tab and then select the “System Settings” button as shown below:
Next you must go to the Stock Tab, from there you can select each button and customize it to your liking:
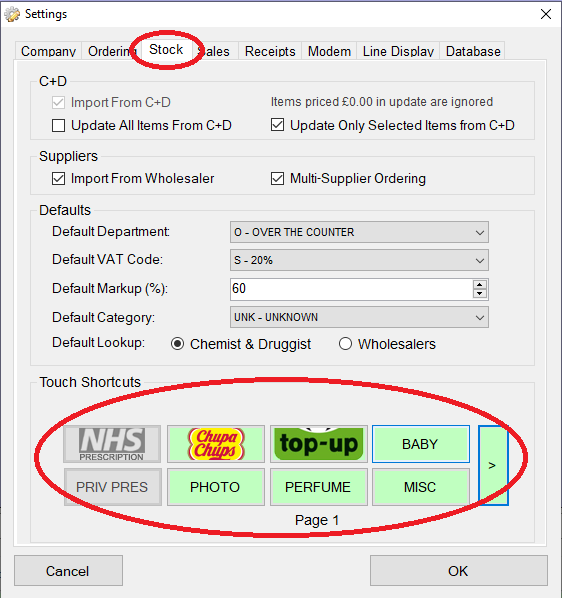
Upon clicking one of the buttons you will see be able to select which item you would like to link to the button, first click the select button, then select the item in your stock list that you would like to link to the button.
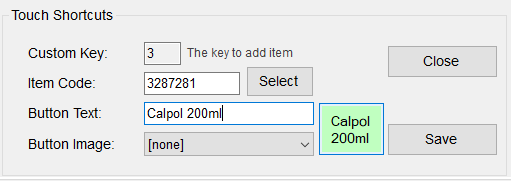
Next add a descriptive name to the “Button Text” text box, once you are happy with your new button click the “Save” button to save it.
Retail Price Markup
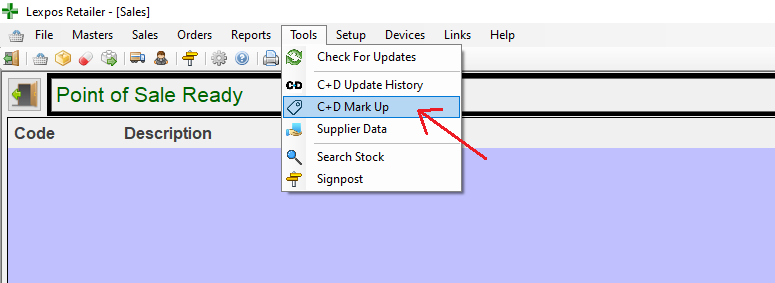
To access the Retail Price Markup window go to the tools tabs and select the button shown below:
This will bring up the Retail Price Markup window. Here you can select whether you want prices marking up based on the items RRP price or trade price as given by C&D.
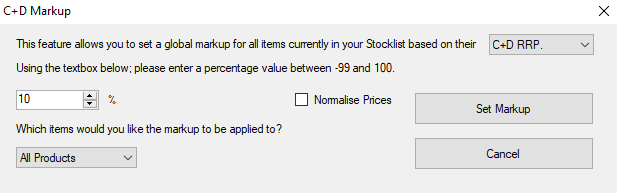
You can then choose if you would like to “normalise” which will round prices to the nearest #.#0, #.#5 or #.#9.
Finally you can chose whether to update only P medicines, only GSL lines or all products.
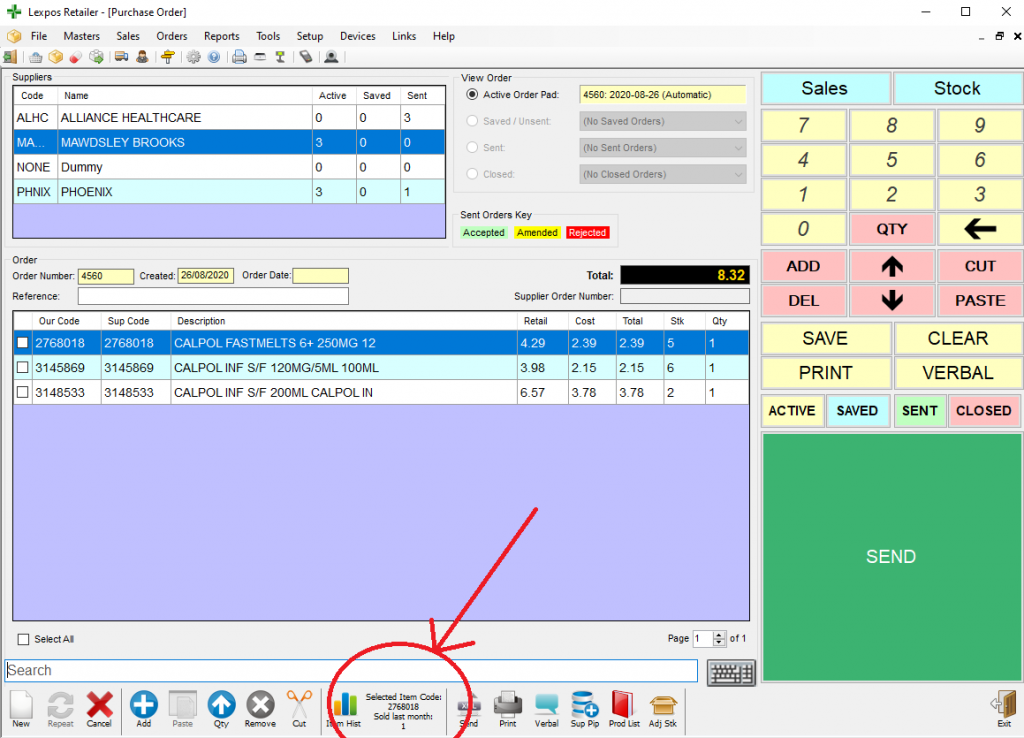
Ordering at a glance
This small change allows you to see how much of a selected product you have sold in the past month straight from the order pad. Simply select an item on the order pad by left clicking on it and then look at the indicated part of the screen as shown in the image below to quickly check how many of the selected product were sold in the past 30 days.